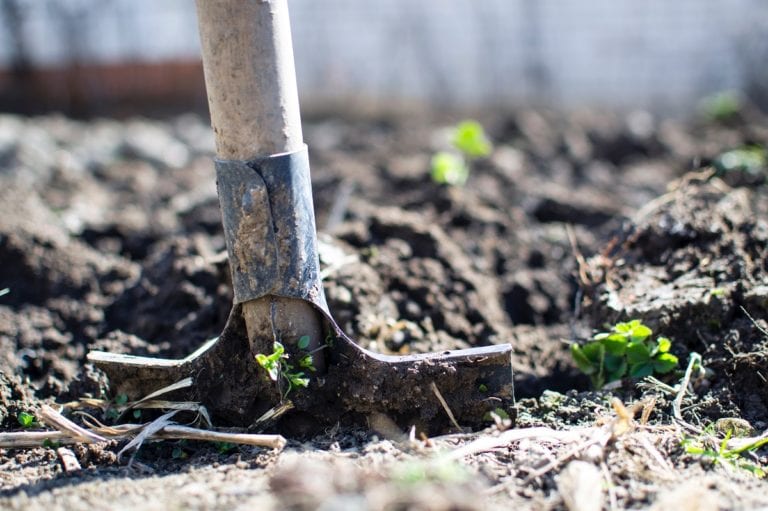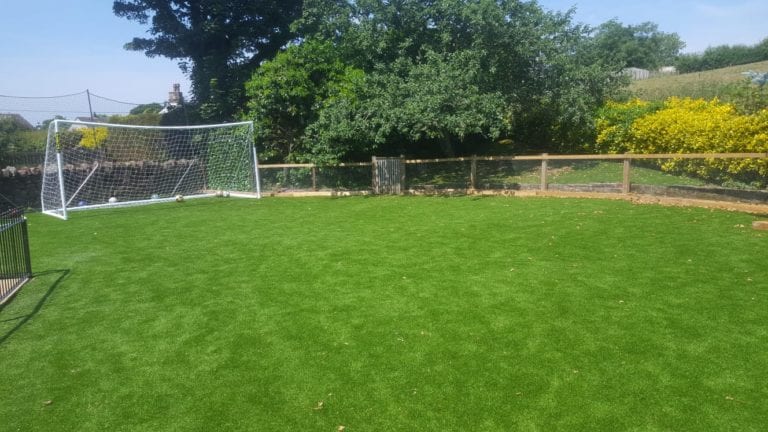
Now is the time to get back out in the garden and assess how your garden and everything in it has fared over the winter months. If your fence is looking a little worse for wear perhaps because of an over-enthusiastic kick of a football, an excitable dog or just the results of the unpredictable British weather – it can start to look unsafe and untidy.
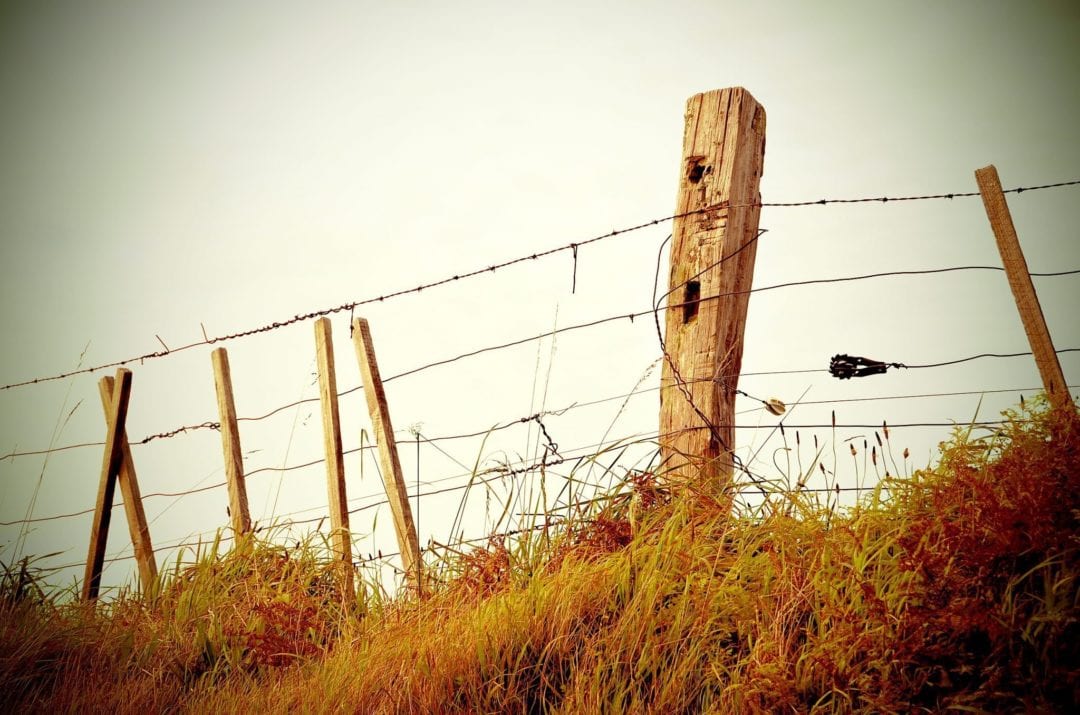
But a damaged strip or two doesn’t mean you need to go to the expense of replacing the whole fence or even just the panel. With some nifty repair work and a bit of TLC you can bring a whole new lease of life to your boundary and a whole new look to your garden.
How to…
Wear protective gloves to guard against splinters, carefully saw through the fence nails with a hacksaw and remove any damaged strips of wood, sliding the pieces out through the end of the panel.
You may be able to salvage a replacement strip of wood from another panel. If this isn’t possible, single panels are available from selected leading DIY retailers. Saw the strip to length if necessary, then nail it into position. Ask someone to stand on the other side of the fence and hold a block of wood or brick against the panel to support it as you nail.
Once you’ve brushed off any algae or lichen or used a pressure washer to clean any large areas of your fence, don your overalls and use a brush or spray on fence treatment to prevent against future rot and decay. Treating your fence with a coloured treatment will also help blend the old and new panels together and protect it against the elements (but unfortunately not against footballs!)
Top tips for fab fences…
To offer further protection for your fence it is a good idea to nail a wood or plastic cap to the top of your fence posts. Not only do these make the fence look good but they also prevent rain water seeping into the end grain, which can shorten the life of the post.
Try adding a trellis to the top of the fence and some hanging baskets to give it a brand new fresh look.