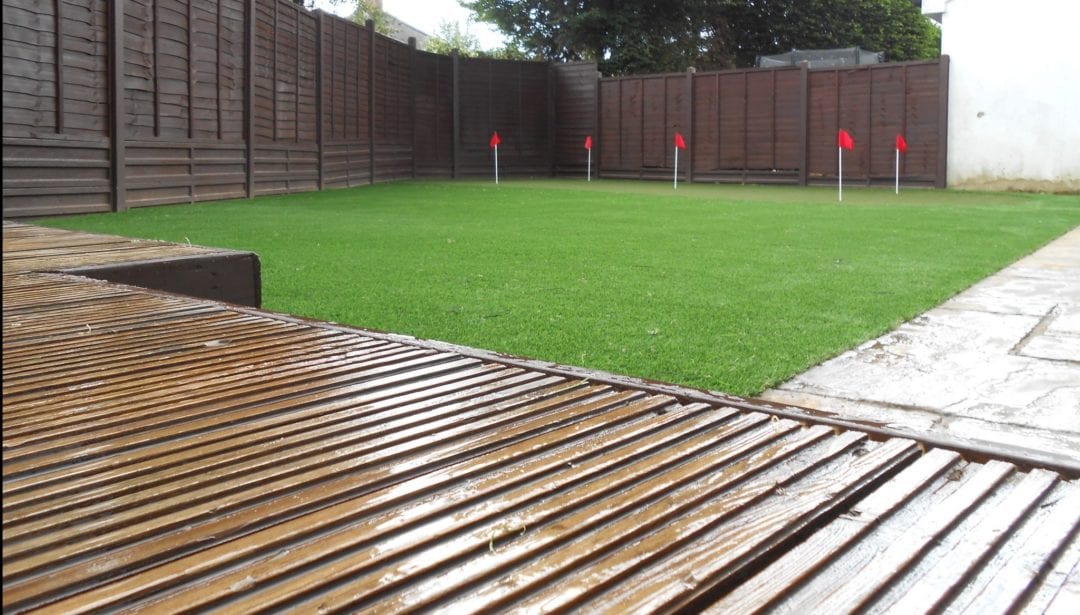
If your decking is worn or damaged in areas, like mine (see pic) then you’ll be relieved to know that you can tackle the problem without having to pull up the whole deck and lay it afresh.
Instead, split or pockmarked boards can be removed and replaced. And now is the time (while it’s dry) to get out and do the garden DIY jobs you’ve been putting off all winter, so you can enjoy your decking in its full glory when the weather gets warmer.
I’m going to give my decking some much needed TLC and here’s how;
Use a pencil to mark where the damaged board needs to be sawn. If possible, make the cut close to an existing support joist. Remove fixing screws if present, lift the board and saw through.
Nail or screw a sturdy support batten to the side of the joist to support the new board. Treat sawn ends with suitable preservative before fixing. Use a tape measure and square to mark the new board to length. Saw carefully using a fine-toothed handsaw, supporting the waste piece as you cut through.
Alternatively, use a powered mitre or circular saw. Remove the whiskers on the end of the new board with a sanding block, then treat exposed ends with wood preserver. Mark screw positions and drill pilot holes with a cordless drill – this will stop the wood from splitting.
Fix the board to the joists with 50mm decking screws. After cleaning the surrounding boards and making sure they’re dry, apply a decking stain in the colour of your choice.
Keeping up appearances…
Treating decking with preserver can be a arduous, messy job but it’s best do it every year to keep on top of the maintenance and protect the decking from the effects of the great British weather. If you leave it for a few years, you’ll find it’s not just a case of treating it with a stain or preserver. It’s likely you’ll need to use wood bleach, a pressure washer and lots of rinsing to get all the built up mould and green algae off. It then turns into a major project.
I’ll post happier decking pics once I’ve done my decking DIY!